Índice
Objective
This document is intended for developers who want to create applications external to Fluig. Fluig has a public API and its main services are available on the platform. By using this API, you can create messages on behalf of the user, add contacts as favorites, create articles and much more. For the applications to act on behalf of the user the authorization is performed through the OAuth protocol.
API
API(Application Programming Interface) is a set of routines and standards set by the software so that external applications can use its resources in their applications.
In Fluig, the API documentation is available at http://<FluigServer>/api or here.
All services are based on REST, where writing actions are limited to HTTP POST request type, and query actions are limited to GET.
Observation
Available from Fluig 1.1version
OAuth
Authentication and authorization of external applications to Fluig is performed via the protocolOAuth 1.0 and OAuth 1.0a , which enables applications to perform actions on behalf of the user without storing their login information (username/password). You can also use the Fluig API through a valid session in the internet browser.

Observation
Fluig is not compatible with the OAuth 2.0 protocol.
Authentication process:
For an application to act in Fluig on behalf of a user or of itself it has to be previously registered on the Fluig platform with its public and private keys. As soon as the application is registered in Fluig it is possible to start the authentication process as steps below:
- Step 1: Application requests a token from Fluig to start an OAuth session (http://<ServerFluig>/portal/api/rest/oauth/request_token)
- Step 2: Application requests user authorization through login and password (http://<ServerFluig>/portal/api/rest/oauth/authorize)
- Step 3: Application requests Fluig tokens to act on behalf of the user (http://<ServerFluig>/portal/api/rest/oauth/access_token)

Figure 1 - OAuth example
Observação
To use the application, it must be previously registered in Fluig.
Register application in Fluig
To register an application in Fluig log in as Fluig administrator.
Follow the steps:
Go to: Control panel/WCM/ProviderOauth

Figure 2 - Fluig administrative panel
Click Add and fill in the fields as shown:
Figure 3 - Oauth provider registration
Details:
FieldExampleCode 01 OAuth Provider WCM Description Example application Access token URL http://<ServerFluig>/portal/api/rest/oauth/access_token
Request token URL http://<ServerFluig>/portal/api/rest/oauth/request_token
User authorization URL http://<ServerFluig>/portal/api/rest/oauth/authorize Request method GET Signature method HMAC-SHA1

Go back to the control panel and go to: Control panel/WCM/Oauth app
Click Add and fill in the fields as shown:

Figure 4 – Oauth application registration
Details:
|
Fields
|
Example
|
|---|---|
| Consumer key | <your application public key> |
| OAuth Provider | Provider registered in step 2 |
| Consumer secret | <your application secret key> |
- Optional: If your application performs actions on its behalf, you can create a user application. On the same application registration screen there is an "Application user" action: after accessing it, you will be able to generate tokens that are exclusive for the application. If your application's actions should be executed on behalf of a user, then the application must go through the standard OAuth authentication process.
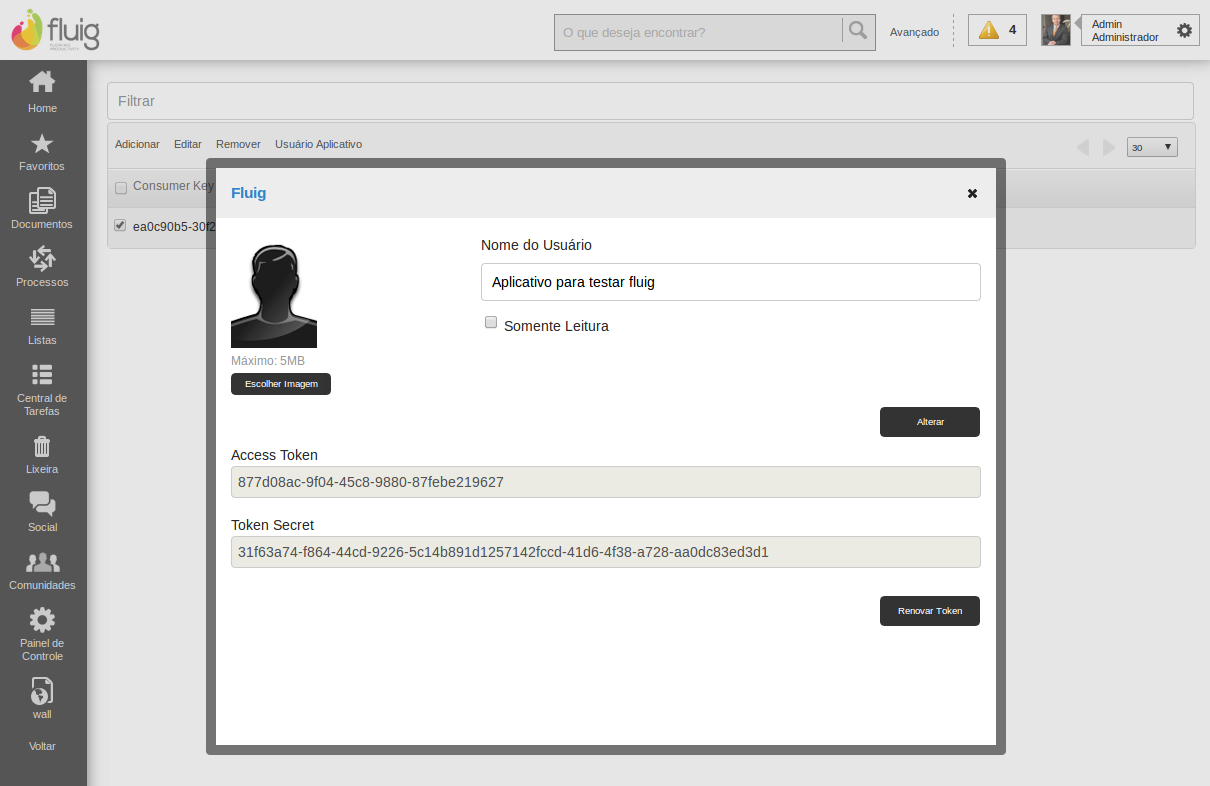
Figure 5 - application user
Example application
There is an application developed by the Fluig team that shows how to use the API. The application is developed in Java. You have to have JDK 1.7 installed before running the application. Build and dependencies management is made by Maven, so it is mandatory to have it installed in the development environment to be used.
Download the file and unzip it into a directory of your choice.
The project basically consists of a pom.xml (Project Object Model, Maven standard file) and a Java class called FluigClientExample . Open the class and check the documentation generated from comments. You will see that it is necessary to build an object FluigClient and this object receives some parameters such as host, consumer key and consumer secret. You should change the values in the construction to a known host and enter the consumer key and secret of the application that is your responsibility, as the code that follows:
		FluigClient fluig = new FluigClient()
				.setHost ("http://127.0.0.1:8080")
				.setConsumerKey ("enter your consumer key here")
				.setConsumerKey ("enter your consumer secret here")
				.connect();
Further down in the code, note that the application creates and reads posts by communities. You have to enter a valid community of your environment to run the demo application;
String comunidadeAlias = "coloque_aqui_alias_de_alguma_comunidade";
After performing the changes, open the directory generated and you will notice that the pom.xml file is located in the root of the project.
To perform the build of the project, type:
$ mvn clean install
During the build process, Maven will display several logs, such as dependencies being downloaded among others.
After build is successfully finished, note that the file target/api-client-demo-jar-with-dependencies.jar generated is an executable Java. To execute it, type the command:
$ java -jar target/api-client-demo-jar-with-dependencies.jar
In FluigClientExample class, note that the execution will: list the users, create a post on the user's personal page, create a post in a community and list the posts of a community. During the execution, the call result logs will be displayed on the console.
Visão Geral
Import HTML Content
Conteúdo das Ferramentas
Tarefas